

Do you do this? Do you ever walk casually past the accessories in stores and think, hey, can I make that? That very thing brings me to today’s project–the velvet twist headband.
It’s part ear warmer, part headband plus it’s a fast and easy project that takes hardly any fabric.
Bonus: this project helps you keep building that experience working with stretch velvet.
Elizabeth, I have no stretch velvet in the ole stash.
Ah friend, but stretch velvet is just the beginning. I’ll walk you through how to make your own velvet twist headband plus we’ll talk about other fabrics you can try for this project. Let’s dive in!
elizabethmadethis.com is a participant in the Amazon Services LLC Associates Program, an affiliate advertising program designed to provide a way for websites to earn advertising revenues by advertising and linking toSome of the links below are affiliate links. This means that, at zero cost to you, I will earn an affiliate commission if you click through the link and finalize a purchase.

elizabethmadethis.com is a participant in the Amazon Services LLC Associates Program, an affiliate advertising program designed to provide a way for websites to earn advertising revenues by advertising and linking toSome of the links below are affiliate links. This means that, at zero cost to you, I will earn an affiliate commission if you click through the link and finalize a purchase.
Cutting your headband
With a ruler and rotary cutter, cut 2 rectangles from your stretch velvet 20.5″x4.5″.
Since we’re dealing with a knit, make sure that the longer dimension is cut so that the stretch is going around your head.
If you’re not sure if 20.5″ is going to be big enough for your head (or maybe too big), mark the amount by pinching out the 20.5″ with your fingers. Wrap it around your head, bringing your fingers together. If it feels comfortable, you’re good to go. Add or take away length so that it feels good.
Finish the bottom edges

Steam the hems into place
Take one of your rectangles and steam up 1/2″.
Notice I said “steam” not press. One of velvet’s quirks is that if it hits and iron, it’ll crush the nap. So instead of pressing, hover your iron above the fabric and hit it with some steam.
Use your hands to gently hold the steam into place until it cools. It’s weird, but this is enough to get a clean hem ready to sew on stretch velvet.
I really love the Clover Hot Hemmer here vs. other hemming guides. It’s made of a really heavy non-woven material that holds in that steam really well. It’s also nice that the ruler is bright and easy to read.
Next, repeat this process for the second rectangle.
Stitch the hems
When you’ve finished steaming the hems into place, it’s time to stitch them down.

Usually with stretch velvet, a hand hem or a blind hem is nice. Since this is a casual look, you don’t need to bother with either. I’m using a coverstitch for my hems.
If you don’t have a coverstitch, use a narrow zigzag on your regular sewing machine. Adjust your regular zigzag stitch down to 0.5mm width, 2.5mm length for a narrow zigzag.
Now on to making the twist.
Make the twist
Making the twist hem
Bring the short sides of one of your velvet pieces together. Make a 3/8″ clip about 5/8″ from the fold.


Flip your velvet to the wrong side and steam back the little hem between the clips.

Now stitch down the hem using that narrow zigzag or coverstitch. Repeat these steps for the second velvet piece.
Forming the hole for the twist
Now it’s time to form the hole that’s going to allow you to make the twist.

Bring the unpressed edges of one of the velvet pieces together. Match the ends of the twist hem.
Next, baste this seam with your contrast thread and hand needle. Take long stitches. We’re not pinning here because velvet will clunky shift on you. Hand basting is your best weapon against the velvet shift!
Read more about velvet sewing tips.
Matchine sew the seam you just basted with a 3/8″ seam allowance. Stitch from the ends towards the twist with a narrow zigzag, getting as close to the twist as possible. Be sure to backstitch right at the twist to keep the stitches secure.

Pull out your basting thread and steam open the seam.
Finishing the twist
Match the twist hems together at the center. Slip one end of your second velvet piece through the hole. Twist the second piece around so that the ends are even.


Next bring the raw edges of the second piece right together so that they’re in the middle just like with the first piece.


Hand baste this second seam from the ends towards the twist.
Sew this seam with a narrow zigzag and 3/8″ seam allowance from the ends towards the twist. Again, get as close as you can to the twist, and backstitch as you near the twist.
We’ve got one more seam to go.
How to finish your velvet twist headband.
Now that you’ve sewn the twist, it’s time to finish up the headband itself.
Bring the short ends right sides together. Match the ends as well as the twist seam points.
Hand baste the short sides together.

Sew the headband seam with a 3/8″ seam allowance and a narrow zigzag. Steam open this seam too.
And you’re done!

Other fabrics you can use besides velvet for this twist style headband
Try it in:
- Fleece: yes warmth!
- Chenille knit
- Sweater knits
- Jersey
This is definitely a style that’s great for testing out various knit fabric options. I love how they all have a slightly different vibe.

chenille knit chenille knit, sweater knit, stretch velvet, fleece


So that’s how to make a velvet twist headband. As you can see, it’s a quickie project. Make up your own for you or a friend and keep your ears warm this winter!
Teach me more about sewing with velvet
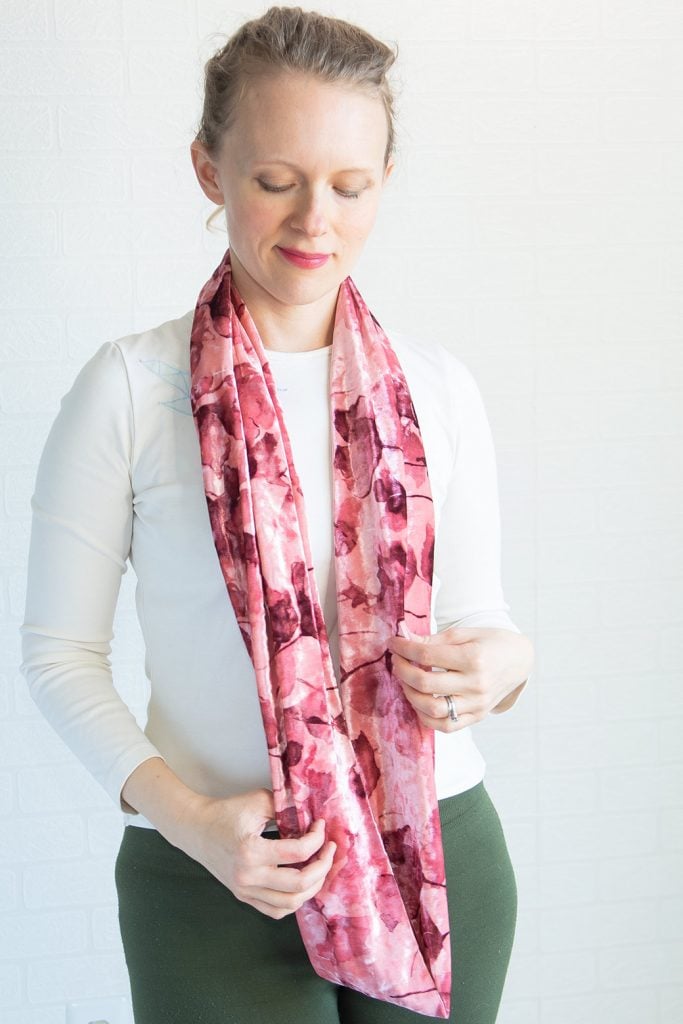
How to make a velvet infinity scarf
You + stretch velvet + under 30 minutes

3 ways to sew a scrunchie
For all the velvet scraps in your life

How to sew stretch velvet without fear
Stretch velvet is a diva, but you’re in control of it.

Elizabeth Farr is the writer behind the Elizabeth Made This blog where she shares helpful sewing tips, step by step sewing tutorials and videos to help you explore your creativity through sewing. She has written sewing Eguides and patterns, been a featured teacher at Rebecca Page’s Sewing Summit and Jennifer Maker’s Holiday Maker Fest and her work has appeared in Seamwork and Altered Couture magazines. She also created a line of refashioned garments for SEWN Denver. When her sewing machine isn’t humming, she’s playing and teaching violin, and hanging around a good strategic board game with her husband and 4 kids.