

As I send off 2 of my boys to go skiing this morning, I’m reminded that it is indeed in the thick of scarf season. One of my favorite things about making DIY scarves (besides staying warm!) is how they can be a quick intro to working with fabrics you may not have tried before.
With that in mind, we’re talking today about how to make your own velvet infinity scarf.
It’s a similar construction to the DIY scrunchie but literally with a twist! It’ll teach your hands about the joys (and struggles) of stretch velvet, plus you’ll be looking cute to boot in under 30 minutes!
On to the tutorial!

Fabric choices for your velvet infinity scarf
Even though I throw out “stretch velvet” as an option, there’s actually several different fabric types that fall under that category that will work really well for a velvet infinity scarf. We’re working with knits here, but some of these subtypes also show up in woven form as well like crushed velvet.

At the end of the day, there’s a lot of crossover with the terms, so you might see things labeled with multiples of these words. I myself am using a panne velour LOL!
- Stretch velvet: the classic here. It has a high pile and is luxurious, and has a bit of lycra which adds to the drape and gives it some springy recovery.
- Panne velvet: this stuff is making a serious comeback! On this type, the pile is flattened in one direction. Because of the crushed appearance, it’s a little bit easier to work with. It’s a polyester, so it’s not as luxurious as a true velvet, but I won’t say no to it! Bonus: panne velvet comes in lots of prints!
- Velour: Velour is any knit velvet, so there’s a little confusion in terms. I’ve certainly seen my share of fabrics labeled only “stretch velvet”. Fabrics labeled “velour” seem to have a lower pile and may not be as stretchy as another stretch velvet. The classic track suit is all about the velour.
- Crushed velvet: unlike panne velvet, the pile on crushed velvet can be smooshed in multiple directions. The cool thing about that is that light will bounce off it giving it a two-tone look. It’s kind of like having a print without having a print.
Once you choose your stretch velvet, you’re ready to cut.
Cutting your velvet scarf
This is one time that I did not prewash my fabric. Because I’m using a polyester knit, it’s not going to stretch. If you have any cotton in your velvet’s mix, do prewash.
From there, lay out your fabric on a grid mat wrong side facing up.

ooh, linty


Straighten up the edges so that you have an 18″x60″ rectangle. If your fabric is narrower than 60″, that’s okay.
Use a rotary cutter to trim off the selvages.
After you’re done, wipe off your scissors or rotary blade. There’s definitely going to be some gross lint happening that’ll end up on your next project if you don’t clean it!
Basting the scarf
We’re not using pins here. Velvet is highly shifty as you’re working with it and pins will not get the job done. The best way to control the seams is to hand baste them.
Use silk thread if you have it. It will slide in and out of the velvet easily and be easier to pull out later.
I also use a beading needle because it’s extra flexible and the thin shaft won’t damage the velvet.

Fold the scarf’s short sides right sides together onto themselves so that the long edges match.
Thread up your needle with your contrast thread and baste with long stitches down the entire long side.

Sew the long side of the scarf
Next, sew down the long side on your sewing machine with a narrow zigzag (0.5 width, 2.5 length) with a 3/8″ seam allowance. Steam along the seam, hovering over the stitches with your iron, not actually pressing the fabric.

You can remove the basting stitches now.
How to make the twist for your velvet infinity scarf
Now to make the twist that will make your scarf an infinity scarf.
mark half point with pin on both ends match pin to seam both seams to pins matched


Turn the tube right side out. Put in one pin directly across from the seam on one short side. Repeat for the second short side.
Next twist the short sides to match one pin to one seam right sides together. Pin the second pin to the second seam.
Sewing the infinity twist
After that sew the short sides together with the same narrow zigzag and a 3/8″ seam allowance.
start sewing before pin keep going around… until you can’t go further


Start sewing a couple inches before your first pin. Stop sewing a few inches after the second pin.
There will be a point where you can’t sew any further because the tube is sewing itself to itself. Stop sewing when you feel that resistance.
Closing up the hole

To finish the scarf, pull the short sides through the hole.
Use your matching thread and needle to make tiny hand stitches to close up the hole.

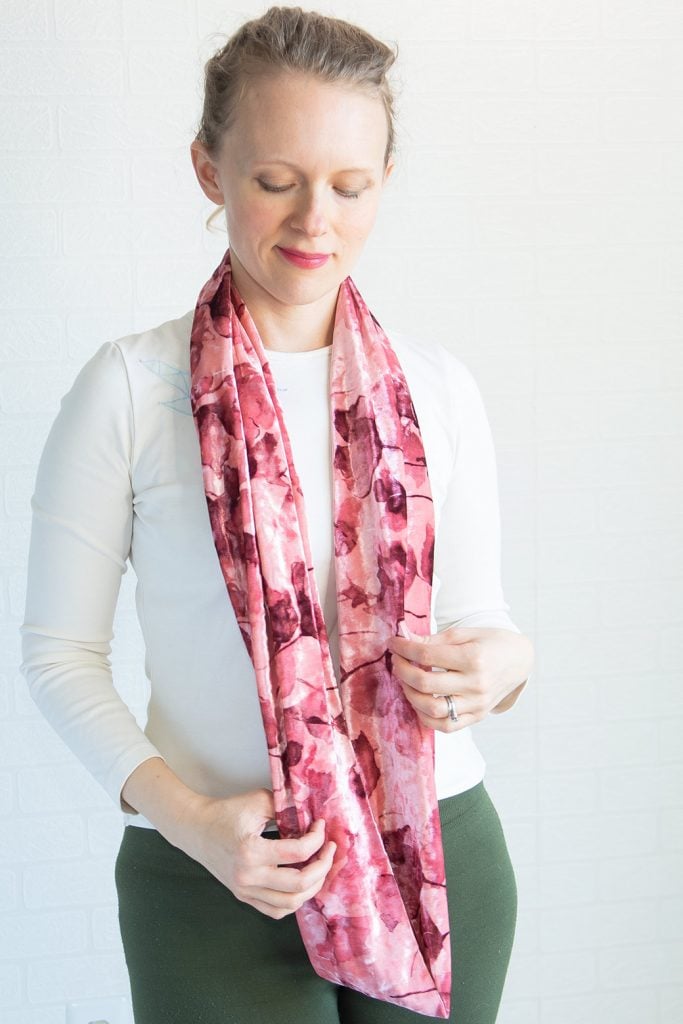
And that’s all there is to making your own velvet infinity scarf. Wear it long or doubled up for a chic winter accessory that feels good next to your skin!

More DIY scarves to make yourself this scarf season:

Elizabeth Farr is the writer behind the Elizabeth Made This blog where she shares helpful sewing tips, step by step sewing tutorials and videos to help you explore your creativity through sewing. She has written sewing Eguides and patterns, been a featured teacher at Rebecca Page’s Sewing Summit and Jennifer Maker’s Holiday Maker Fest and her work has appeared in Seamwork and Altered Couture magazines. She also created a line of refashioned garments for SEWN Denver. When her sewing machine isn’t humming, she’s playing and teaching violin, and hanging around a good strategic board game with her husband and 4 kids.
Elizabeth, I love the content you share on your blog. You are very inspiring! I want a velvet infinity scarf now. Going on a scavenger hunt (in my closet), lol! Thanks for sharing!
Thanks Alethia! I hope you find some good velvet! I was loving the panne selection at JoAnn the other day!
I’m thinking of making a stretch velvet & contrast satin for a glamorous stole / shawl for a wedding outfit. I planned to use some lightweight wadding to give it a more luxurious feel, but have never done anything similar. Do you think this will work & have you any tips?
Thanks for your inspiration.
If you’re lining with satin, you’ll want to have a more structured non-stretch velvet because satin (even stretch satin) does not have enough stretch to play nicely with stretch velvet which is incredibly drapey and stretchy. A stretch velvet wrap would be beautiful, and if you want to line it which will indeed make it look more polished, go for a rayon spandex, and I might consider adding a trim along the edges to prevent the lining edges from peeking out.
Thanks Elizabeth that’s really helpful- I shall give it a go !
Glad to help!