

Today you’re going to learn how to sew a scrunchie. This is a perfect project for sewing beginners and for kids, even if this is your very first project.
Scrunchies are back and they’re much more fun than the 80s and 90s the last time I tried to pretend that my fine hair could handle them.
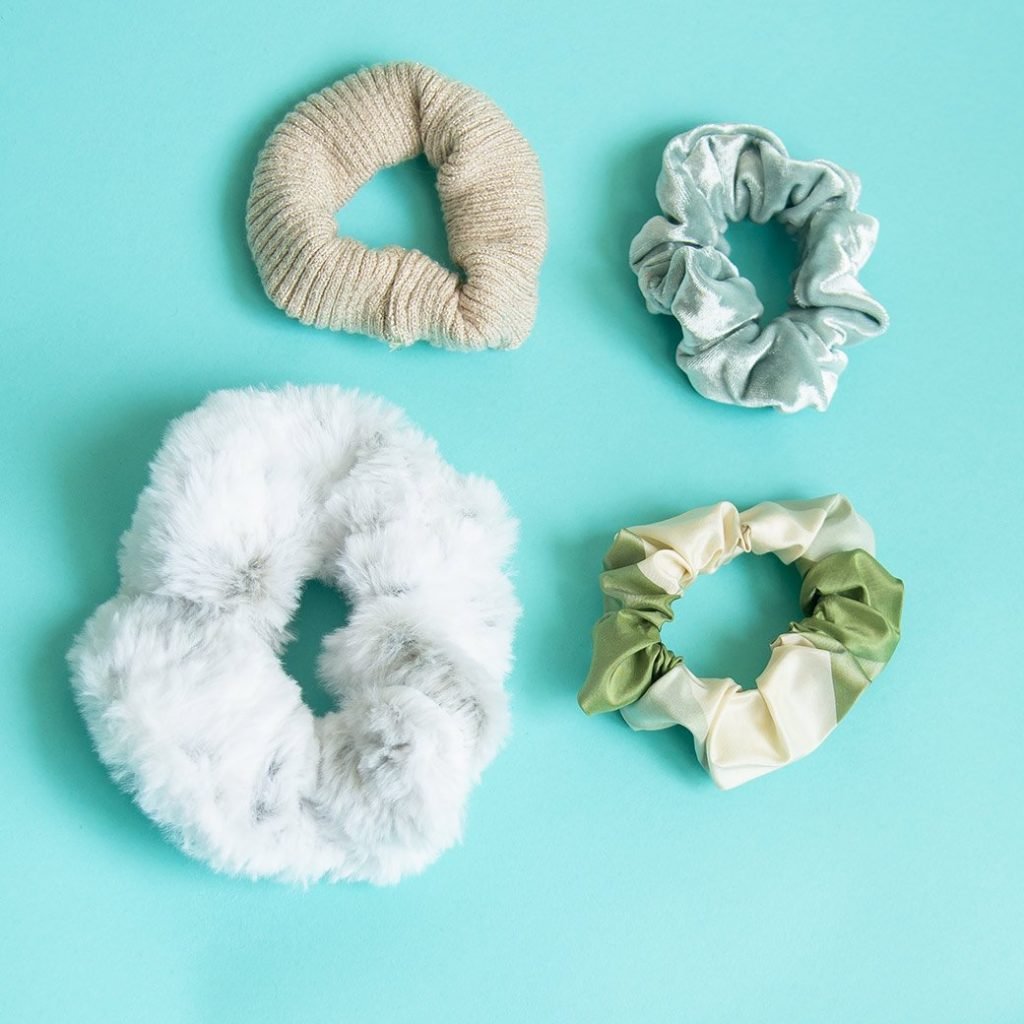
They’ve been popping up in stores in corduroy, velvet, faux fur and all manner of glittery fancy fabrics that Full House never saw.
I’ll show you how to sew a scrunchie step by step 3 different ways plus a little hack if you don’t have thick luxurious scrunchie-loving hair.
This is a great project for a quick handmade stocking stuffer, and it’s a good scrapbusting project. So grab some fun fabrics that catch your eye and let’s dive into this.

elizabethmadethis.com is a participant in the Amazon Services LLC Associates Program, an affiliate advertising program designed to provide a way for websites to earn advertising revenues by advertising and linking toSome of the links below are affiliate links. This means that, at zero cost to you, I will earn an affiliate commission if you click through the link and finalize a purchase.
Table of Contents
How to make a scrunchie supplies
- 3″x18″ piece of fabric (see choices below) more for the bow variation
- 6-8″ elastic (more for thicker hair), 3/8″-1/2″ wide
- Tube turner (Turn-it-All tubes are my favorites!)
- Easy threader
How to sew a scrunchie: what fabric should I use for a diy hair scrunchie?
If you’re looking to make a DIY hair scrunchie for your very first sewing project, choose easy to sew cotton. It will make your sewing easy as cotton is very forgiving for beginners.
That being said, you can make scrunchies with just about any fabric. From knits to more fancy fabrics, anything will do here as long as it’s not too heavyweight.
Elizabeth’s Tips: Fabric that is too heavyweight is not going to scrunch up well and it’ll be hard to turn the tube when you get to that step.
The new scrunchies are in fabrics like:
- corduroy,
- taffeta,
- lamé,
- velvet,
- velour,
- faux fur
- suede.
Some other choices are cotton quilting prints or cotton voile for easy sewing. You can also use sweater knits or good old reliable jersey knit.
For the scarf variation, pull out a vintage scarf.
The best part about making scrunchies is that they take hardly any fabric. So take a dive in your scrap bin and see what you come up with.
How to make a scrunchie step by step
Cutting your scrunchies
For each scrunchie, cut a piece of fabric 3″x18″.
When you have your fabric cut, cut a piece of elastic 6″-8″ long. If you have thicker hair, go for the longer length. My thinner hair works well with the 6″ length.
On to the sewing.
How to make a DIY hair scrunchie: Basic scrunchie
Fold your fabric right sides together.
If you’re using velvet, it’s good to hand baste along the long edge. This will keep the velvet from slipping around on you as you sew it.


Next, sew along the long edge with a 1/4″ seam. Use a straight stitch for woven fabrics. If you’re using a knit fabric like stretch velvet or a sweater knit, use a narrow zigzag (1.0 width, 2.5 length)
After that, place the tube part of the tube turner inside the scrunchie. Use the dowel to turn the scrunchie through the tube.
Rotate the tube so that the seam is in the middle, and give it a press with some steam. If you’re using velvet or corduroy, use a press cloth of scrap velvet or corduroy!
Add the elastic to your DIY scrunchie
Now we need to add the elastic that’s going to make the scrunchie do it’s scrunch thing.

Dangle the elastic into the tube on one open end. Next, lay the elastic right on top of the seam. Shorten your stitch length and stitch back and forth over the elastic a couple times.
Insert the easy threader into the tube on the other end. Bring it through the side with the anchored elastic and thread the eye.


Pull the threader back through the opposite end and center the second side of the elastic right over the seam. Stitch back and forth over it a couple times just like you did with the first side of elastic. Sewing the elastic this way makes it ultra secure.
How to sew a scrunchie closed
Sew the elastic closed with your sewing machine
First, pinch the open ends together right sides together, matching the seam.
Depending on what kind of fabric you’re using, you might be able to stitch with your sewing machine over the elastic with a 1/4″ seam partially around the tube. You won’t be able to stitch more than about half the tube.

I found that knits did the best with sewing the ends together with the machine.
And if you can’t fit your sewing machine foot inside this tiny tube, no worries.
To start sewing the scrunchie closed by hand use a backstitch to sew the tube ends together with a 1/4″ seam. That means you bring up the needle about 1/4″ ahead of where you start the needle, then poke it back down towards the first hole you made. The stitch goes away from you, then comes back towards you, ideally in the same hole.
Sew the scrunchie closed by hand
Thread up your needle. Put a knot at the end of your thread.
Elizabeth’s Tips: When I’m working with kids, I always have them pass the thread all the way through the needle so that the thread is doubled and knotted at the end. This way the thread has no chance of coming unthreaded which is frustrating for kids.
Go about halfway around the tube, then turn the raw edges to the inside. Slip one end over the other so that it’s even with the seam you’ve been sewing. Move the needle from one side to the other, taking tiny stitches about 1/8″ away from each other.
This should just take you a couple minutes. And if you’re internally freaking out about the quality of your hand stitching, know that it’s going to get lost in the scrunch action. You will only be offending your hair!
When you’re done, make a good knot and bury it in the seam. Cut off the excess thread.
So that’s how to make a scrunchie–the basic variation. Since I love a good theme and variations, let’s go exploring how to spice up your DIY hair scrunchies with something a little different.

DIY scrunchie variations
How to make a bow scrunchie

A bow is a nice easy way to dress up a basic DIY scrunchie. First, follow the basic instructions for how to sew a scrunchie. After that, let’s make the bow.
Cut the bow for your scrunchie
For this variation, cut two pieces of your chosen fabric 3″x14″ in addition to the scrunchie piece.
Fold the pieces in half by bringing the short ends together.

Cut a bow shape by cutting from the folded ends towards the middle of the short end on both sides. Make the point of the bow 1/4″ wide, and make sure the folds end in a smooth straight edge, not a point.
Unfold the pieces and match them right sides together.
Sew around the bow piece with a 1/4″ seam allowance, leaving about a 1″ hole for turning.


Use the tube turner to turn the bow right side out. Tease out the bow ends with your fingers or the end of your dowel. Press the bow well, keeping the hole edges turned towards the inside so that the raw edges are inside the bow.
Using your hand needle, close up the hole with the same tiny stitches moving from one side to the other. Tie a knot and bury it inside the stitching and cut it off to finish.


To make this into a proper bow, tie it onto your scrunchie. Add a few hand stitches if you’re worried about the bow falling off.
If you’re using a bulkier fabric like corduroy, you can instead pleat the bow center with your fingers. Sew the pleats into place with a few hand stitches, then sew the bow into place on top of the scrunchie, through all the layers.
On to the 3rd way to make a scrunchie. Pull out a silky scarf and read on…
How to make a scarf scrunchie

For our third DIY scrunchie version, we’re adding a scarf to the basic scrunchie. It’s an easy way to get the scarf ponytail look without having to mess with tying and retying the scarf all day long.
For this, you’ll need a vintage rectangular scarf.
Cut the scrunchie piece
From one end of the scarf, cut off 9.5″. If your scarf has a pattern on the corners, it’s better to cut the 9.5″ section from the middle.
This piece will be for the scrunchie. Save the rest of the fabric for the tie pieces.


After that, fold the edges together widthwise and cut again along the fold.
Place 2 of the short ends of the section right sides together. Sew them together with a 1/4″ seam. Press the seam.

Once you’ve done that, keep following the basic directions for how to sew a scrunchie.
How to make the scarf ties
If you cut the scrunchie section from the middle, bring two short edges wrong sides together. Sew the short edge with a 1/4″ seam. Trim down the seam to about 1/8″, then press the seam one direction. Fold the fabric now wrong sides together and sew down the same seam with a 1/4″ seam.


Press your pretty French seam you just made!
If you cut the scrunchie section from the end, finish the cut edge the same way that the rest of the scarf is finished. For mine, I used a serger rolled hem, though scarves often use a narrow hem.

When you’re finished making the scarf tie, tie it around your scrunchie in the middle. Sew a couple of stitches to secure it into place. Enjoy not having to tie the scarf every. single. time!
Video version of the tutorial

How to sew a scrunchie
DIY hair scrunchies are so easy to make. Learn how to sew a scrunchie from the basic, to the bow scrunchie to the scarf scrunchie.
Materials
- 3"x18" piece of fabric more for the bow variation
- 6-8" elastic (more for thicker hair), 3/8"-1/2" wide
Tools
- Quilting ruler
- Fabric scissors
- Tube turner (Turn-it-All tubes are my favorites!)
- Easy threader elastic threader
- Hand needle
- thread
Instructions
- First cut a piece of fabric 3"x18". If this is your first sewing project, use a lightweight cotton for easy sewing.
- Fold the strip in half widthwise with right sides together, then sew down the side with a 1/4" seam allowance.
- Use the tube turner to turn the tube right side out.
- Put 6-8" of elastic inside the tube, then sew down one end of the elastic to one end by stitching across it a couple times.
- Use the elastic threader to pull the other end of the elastic through the tube.
- Pinch the end of the scrunchie tube and the elastic together and stitch the elastic down just like you did with the first side.
- Bring the ends of the scrunchie together, matching up the ends of the elastic. Sew on the inside of the tube ends with a 1/4" seam allowance as far as you can.
- Slip one end over the other so that it's even with the seam you've been sewing. Move the needle from one side to the other, taking tiny stitches about 1/8" away from each other. Tie a knot, cut your thread, and enjoy your new DIY hair scrunchie.
- To make a scarf scrunchie, make a scrunchie first by cutting a section from the middle of a rectangular silky scarf. This'll keep you from having to hem the ends later. Make the basic scrunchie, then seam the two scarf ends together along the cut edge. Tie the scarf around the finished scrunchie and stitch a few hand stitches to hold it in place.
- To make a bow scrunchie, cut 2 3"x18" rectangles of fabric. Fold them in half along the length, then cut towards the ends tapering to a point about 1/4" wide. Repeat on the other side. This will create a sort of pointy oval.
- Unfold the bow pieces , then place them right sides together. Sew all around the bow edges with a 1/4" seam allowance, leaving a small hole for turning.
- Turn the bow through the hole, using the tube turner. Stitch the hole closed by hand or machine. Finish by tying the bow around the scrunchie and stitching a few stitches by hand to hold the bow in place.
Recommended Products
As an Amazon Associate and member of other affiliate programs, I earn from qualifying purchases.


Quick fine hair hack for scrunchie wearing
Even though it’s curly, my hair is very fine and literally everything falls out of it, and the bigger it is, the faster it falls out.
So for wearing scrunchies without it falling out in 3 seconds, first make a secure ponytail with a clear elastic. After that your scrunchie can go around the ponytail.
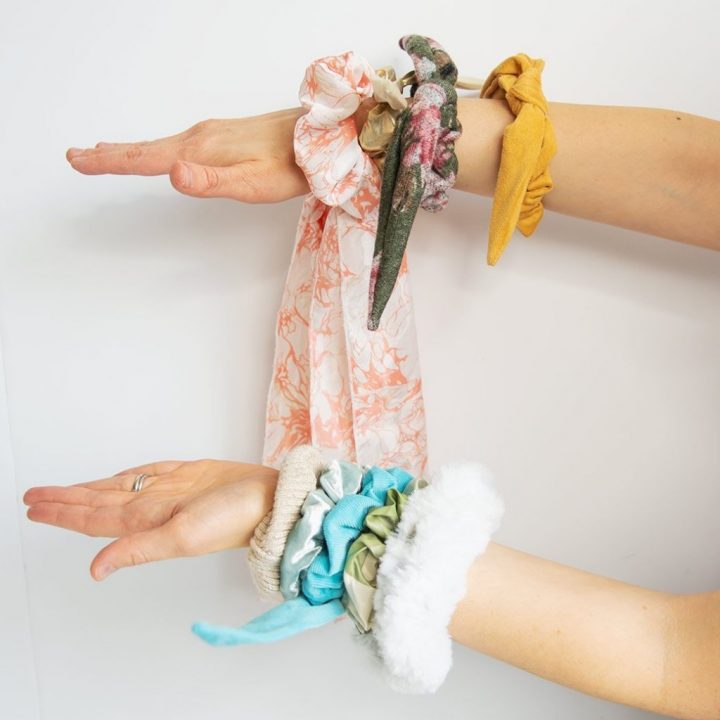
So there’s 3 different ways to make a scrunchie. Make up a few for yourself, for your daughter. You could also make up a bunch of these DIY scrunchies with a group of friends for a low-stress sewing hangout. In addition to making fun last minute stocking stuffers, they’d be great to add to Operation Christmas Child boxes for any charity sewing that you do!

How to sew a DIY felt garland that’ll welcome the snow
Today we’re talking all about how to sew a DIY felt garland with some serious…

Make a snugly DIY neck warmer scarf
Winter is coming, so why not make yourself a snugly DIY neck warmer? The cold…

10 Sweatshirt sewing patterns to sew up now
Today we’re talking about 10 sweatshirt sewing patterns you can make up right now. I…

Elizabeth Farr is the writer behind the Elizabeth Made This blog where she shares helpful sewing tips, step by step sewing tutorials and videos to help you explore your creativity through sewing. She has written sewing Eguides and patterns, been a featured teacher at Rebecca Page’s Sewing Summit and Jennifer Maker’s Holiday Maker Fest and her work has appeared in Seamwork and Altered Couture magazines. She also created a line of refashioned garments for SEWN Denver. When her sewing machine isn’t humming, she’s playing and teaching violin, and hanging around a good strategic board game with her husband and 4 kids.
I enjoy your videos. I met you a few years back through Alethia’s Sew Much talent group. I’ve been out of the loop since losing my Dad and now getting my sew jo back. You made me smile . Thank you for continuing to add value to the sewing community. Blessing
Charlene Steward
Good to hear from you Char! I always enjoy seeing what you’re up to. Thank you always for your encouragement!