
Learn how sew an apron (with pockets!).
Since I’m a baker, I’m perpetually flinging flour all over my kitchen. As I’m not a fan of dusty clothes, I always grab for a big apron.
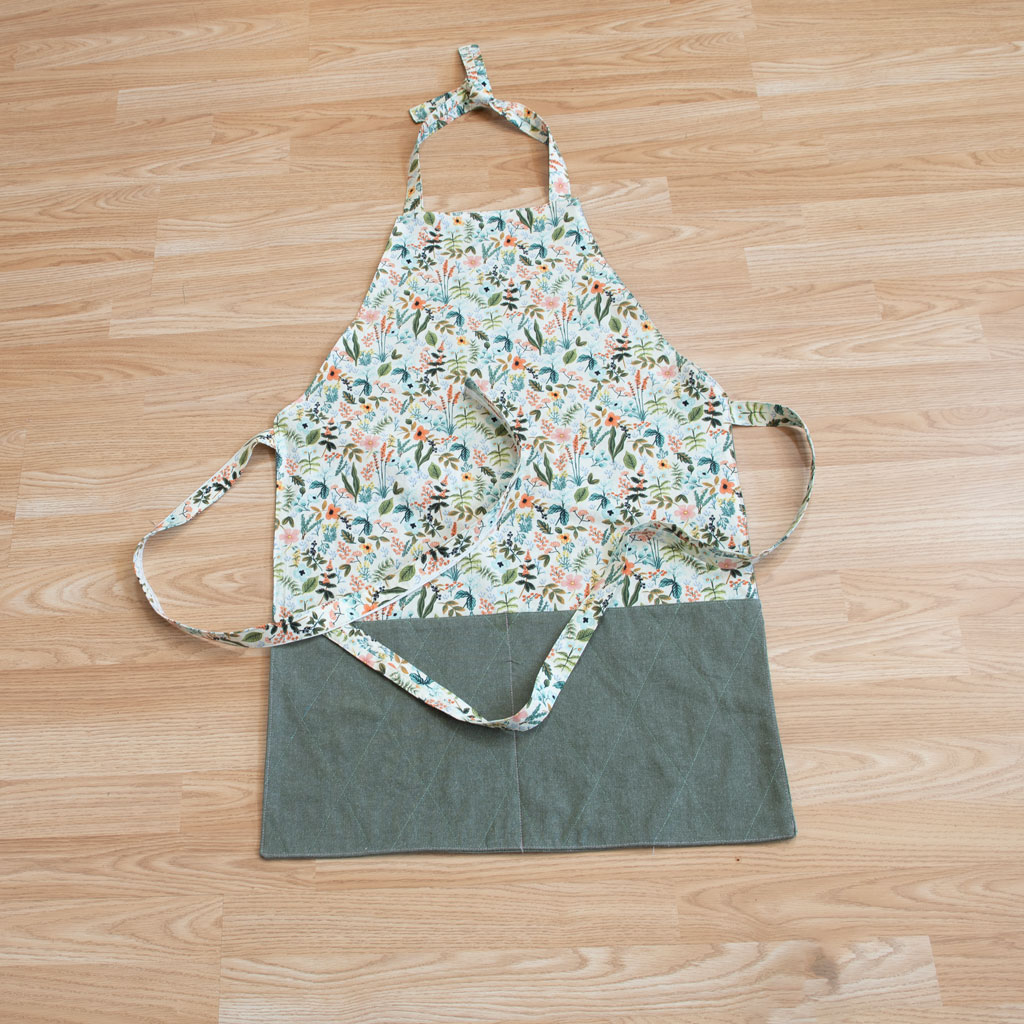
After years of wearing the same full coverage aprons, mine were getting a little long in the tooth. So I looked through my stash and created a simple lined apron with deep pockets. You can stitch it up in about an hour, and there’s no crazy hardware needed. Best yet, there’s no apron pattern you need to sew this apron; you simply draw the measurements onto the fabric before cutting.
I’ve now made two for myself, one for my Mom, and a scaled down size for my daughter. These have been a huge help in my baking classes. Handmade aprons make great gifts too.
If you’re a full-contact cook like I am, drop all your other sewing projects right now, and treat yourself to this easy to make apron.
Grab a ruler, and let’s sew this apron!
Table of Contents
What is the best fabric should I use to sew an apron?
Most commercial aprons that you can buy are a polyester/cotton blend canvas type fabric. They’re sturdy for sure, but I prefer a 100% cotton print on the right side with a cotton duck on the wrong side as a lining.
Quilting cottons are a little thin on their own, but the fun prints combined with the sturdier cotton duck make for cheerful apron with a nice weight.
Natural fiber fabrics always feel nicer and tend to last longer.
If you choose, you can use a heavyweight fabric and leave this apron unlined. If you do that, you’ll have to use bias tape or hem the edges of the apron. It’s my preference to line aprons, but you decide what you like. use bias tape or hem the edges of the apron. It’s my preference to line aprons, but you decide what you like.
elizabethmadethis.com is a participant in the Amazon Services LLC Associates Program, an affiliate advertising program designed to provide a way for websites to earn advertising revenues by advertising and linking toSome of the links below are affiliate links. This means that, at zero cost to you, I will earn an affiliate commission if you click through the link and finalize a purchase.
Materials to sew an apron
- 1 yard cotton quilting fabric print
- 1 yard cotton duck or canvas fabric
- 18″ quilting ruler
- Water soluble marker or dressmaking chalk
- 1/2 yard lightweight fusible interfacing (whatever you find, Pellon Shir-Tailor is about the heaviest weight I’d recommend)
- French curve ruler (optional but helpful)
- Fabric scissors or a rotary cutter and cutting mat
- Turn it all tubes
How to sew an apron with pockets
Apron measurements and size chart
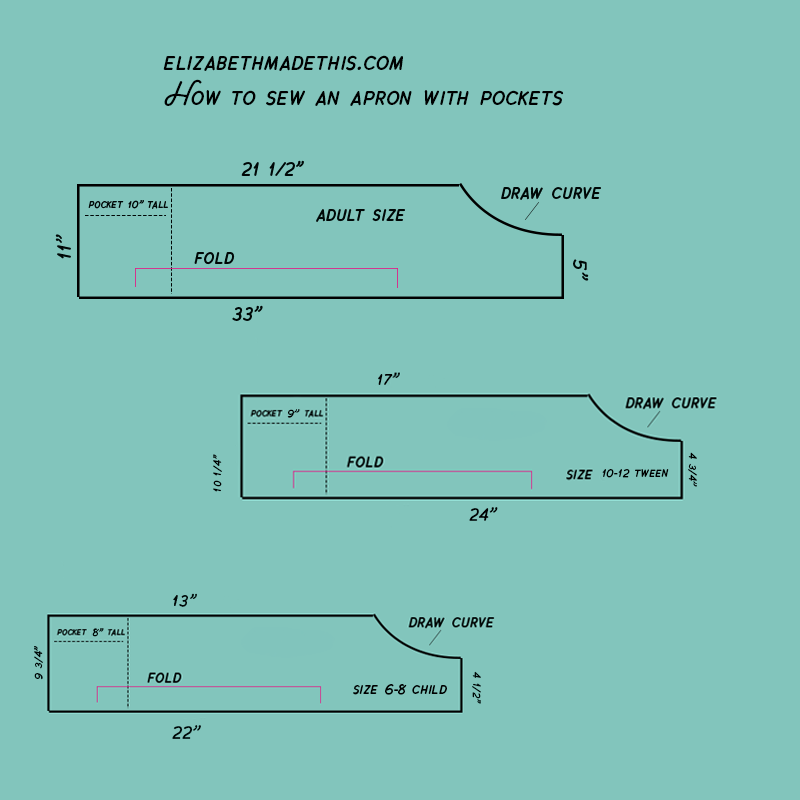
I created 3 sizes for this apron pattern: Adult, tween 10-12 and child 6-8/. You’ll be drawing your apron onto the fabric before cutting. Choose your size from the diagram below. This will give you an outline of the pieces to cut for the apron body and pocket, though I will include a complete cutting list below.
Apron cutting list
| Pieces to cut | Adult size | Tween (10-12) size | Child (6-8) size |
| Apron body | 1 piece from lining, and 1 piece main | 1 from lining, 1 from main | 1 from lining, 1 from main |
| 1 piece each from lining, main and interfacing: 10″x22″ | 1 from lining, main and interfacing: 9″x 20 1/2″ | 1 from lining, main and interfacing: 8″x 19 1/2″ | |
| waist ties | 2 pieces from main 36″x3″ | 2 pieces from main 28″x3″ | 2 pieces from main 21″x3″ |
| neck ties | 2 pieces from main 18″x3″ | 2 pieces from main 16″x3″ | 2 pieces from main 14″x3″ |
Cut all your apron pieces
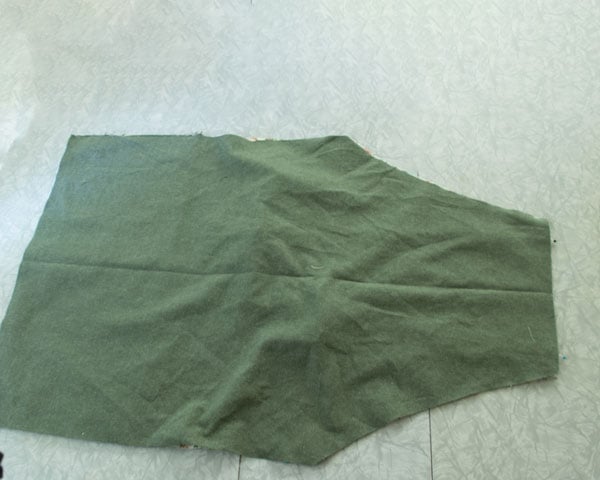
With all of the listed measurements, choose your size. First, fold your fabric from selvage to selvage onto your cutting table. From there, use a ruler and your water soluble marker to measure and draw out your chosen measurements on the fabric. You’ll have to use a French curve to help you draw the curve between the side of the apron body and the neck bib area. If you’re good at that sort of thing, you can freehand draw the curve as well.
Once you’ve marked out everything, cut along the marked lines. Repeat for any lining pieces and interfacing called for on the cutting list chart. I just use my apron body as a pattern to cut the lining apron body. To do so, just place the folded apron piece right on top of the lining and cut around the outside.
Make the waist ties and neck ties
Optional step: If you’d like, you can cut pieces of interfacing for the waist and neck ties that are 1 1/2″ wide x the length of each piece. This will add some stability and strength to each tie. If you’re using a heavier weight fabric, you can skip the interfacing here.
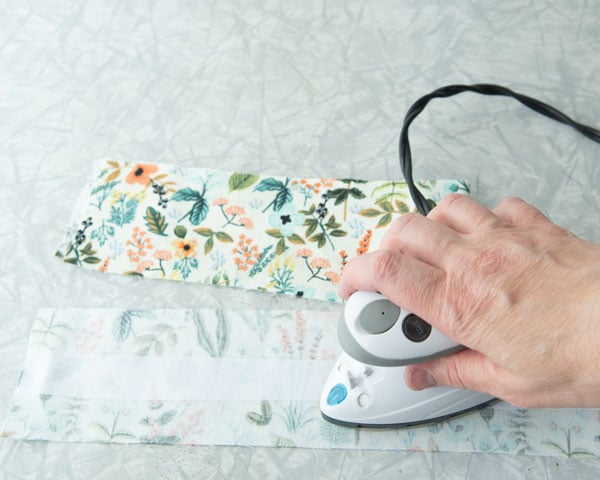
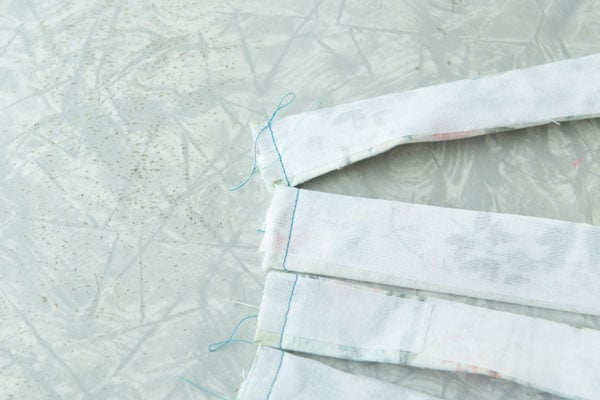
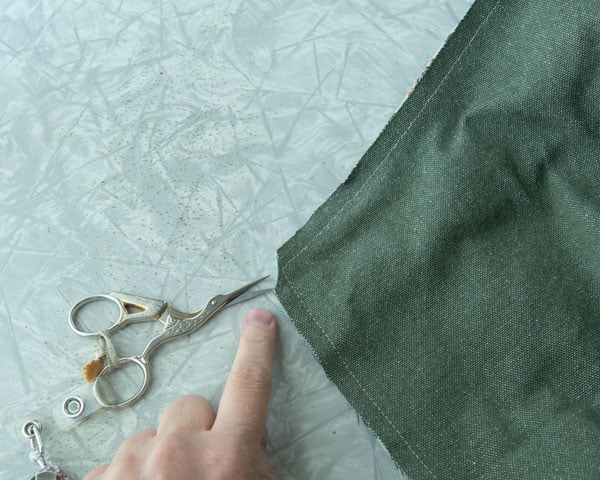
Fold one of the waist ties in half right sides together and stitch along the long edge with a 3/8″ seam allowance. Press open the seam, then turn the tube so that the seam sits in the middle of one side. Sew across one of the short edges.
Use the turn-it-all tubes to turn the tie right side out through the open short side. Press the tie well. Note that you’ll see the seam on the backside of the tie.
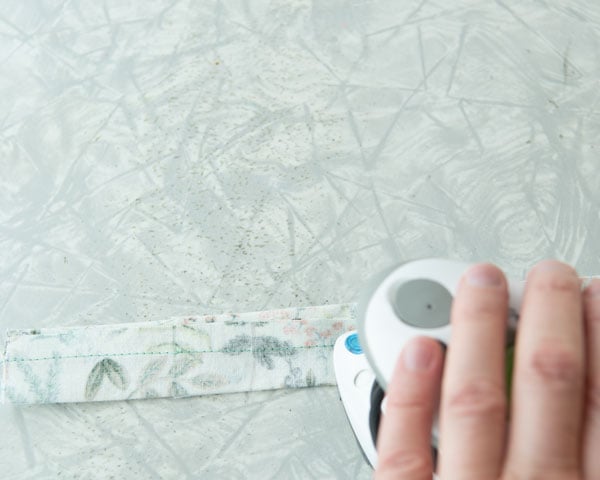

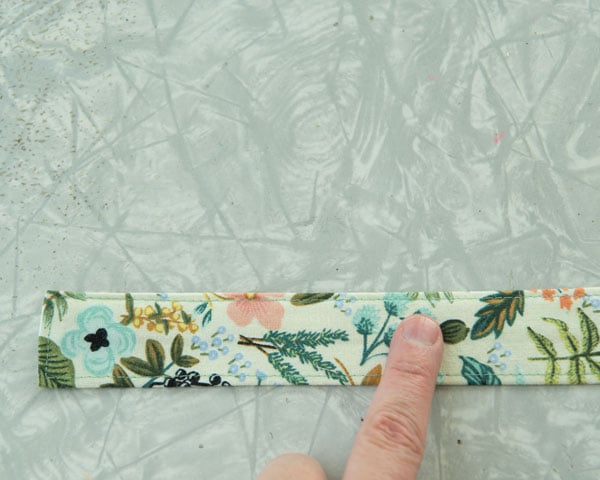
Topstitch 1/8″ with a longer straight stitch (3.0 mm)from the pressed edge.
Repeat for the other waist tie, then for both of the neck ties.
Make the apron pocket
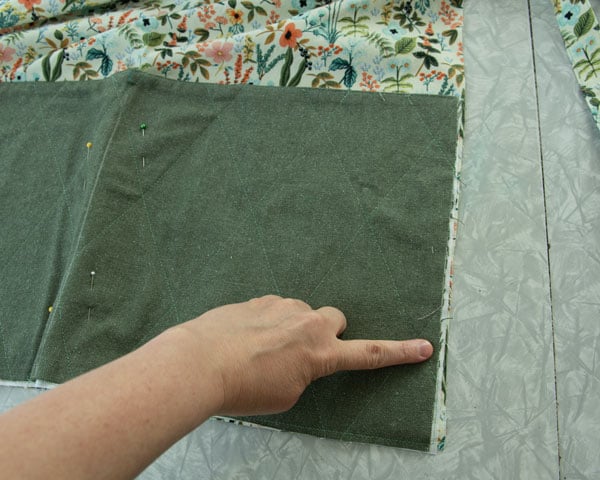
First fuse interfacing to the wrong sides of the pocket piece cut from your main fabric. Next, place the pocket lining and the fused piece right sides together. Set your sewing machine for a straight stitch, then stitch along the top of the pocket (the long side) with a 3/8″ seam allowance.
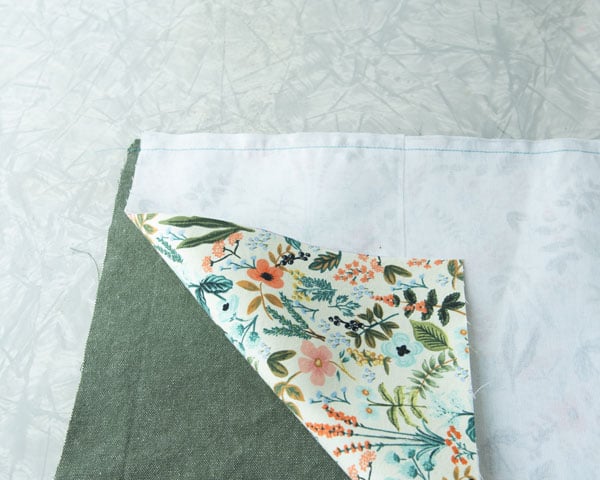
Press the seam towards the lining, then turn the pocket right side out and press along the top. Topstitch 1/8″ away from the folded edge.
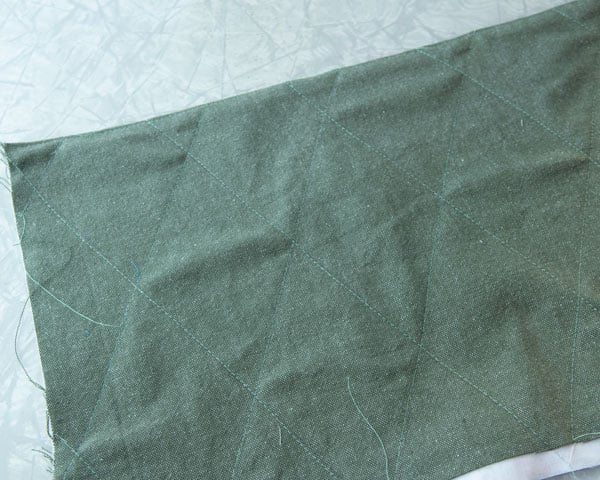
If you’d like, you can quilt the pocket by stitching through all the layers in lines or at random.
Baste the raw edge of the remaining three sides close to the edge.
Measure for pocket placement
Before you stitch anything in place, pin the pocket to the apron, then pin the neck ties in place. Reach your hands down to check the placement of the pocket. For very tall people, you might want to match the raw edges of the pocket with the bottom of the apron.
For most of us, you’ll need the pocket to hit somewhere in the middle of the apron body. Mark the placement for the bottom of the pocket on both sides with a marker. Double check your marks with a ruler, making sure that the pocket marks are even.
Sew the pocket in place
From here you have a design decision. You can go with using the main fabric as the right side of your pocket, or you can flip that. You decide. Sometimes different fabrics can make for a nice contrast that’s fun.
Finish off the raw edge of the bottom of the pocket with a zigzag stitch or a serger.
Line up the raw edge of the bottom of the pocket with the marks you made in the last step with the lining side up. Just to note the topstitched edge will be facing towards the bottom of the apron body.
Add a few pins to keep everything in place, then sew across the bottom of the pocket through the apron body and the pocket with a 3/8″ seam allowance.
Flip the pocket to the right side. Press the seam towards the body of the apron, then topstitch 1/4″ from the pressed edge.
Baste the sides of the pocket to the sides of the apron with a long basting stitch.
Basting the neck strap pieces and waist straps
Pin the waist strap pieces to the top of the apron body 1/2″ away from the bottom of the curve. The length of the waist ties should be facing the inside of the apron body.
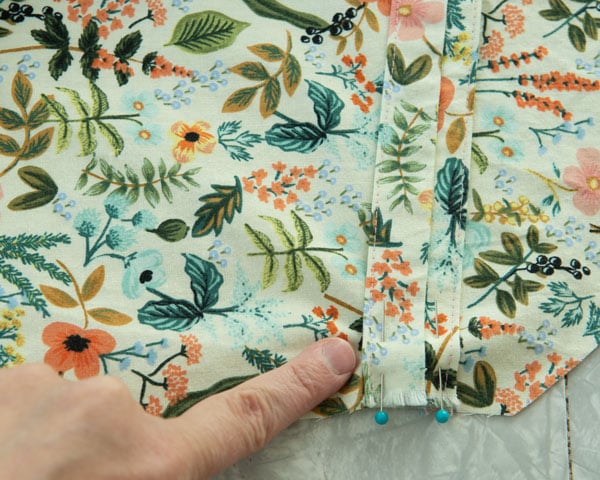
After that, pin the neck ties 1/2″ in from the outer edges of the top of the apron. Baste across all of these ties with a straight line of stitching.
Sew the apron lining
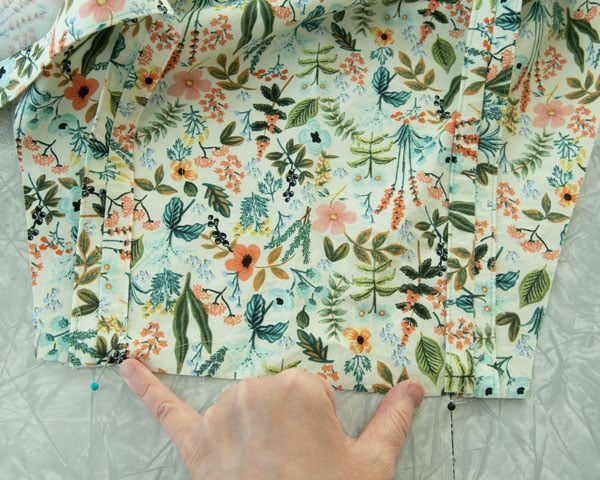
Next, place the apron lining on top of all the basted pieces right sides together. Use pins or sewing clips to hold everything together. When you’ve pinned everything together, you should only see the outer apron pieces. All of the rest of the pieces will be sandwiched between the apron body pieces.
Next, sew around the outsides of the apron with a 3/8″ seam allowance, leaving a hole about 4-5″ long at the bottom of the apron.
Turn the apron
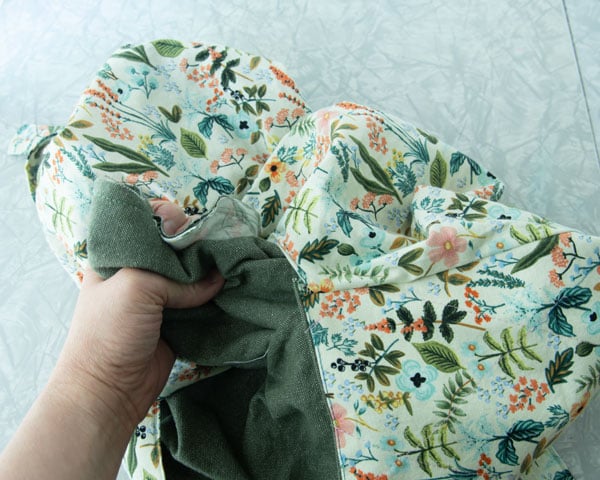
From here, clip the corners, then turn the apron through the hole, using the apron ties to pull the edges out completely. Press the edges well. Press the seam allowances of the hole so that they’re even with the pressed bottom edge of the apron.
Topstitch all around the apron 1/8″ from the pressed edges.
Finishing steps
Draw a center line vertically down your pocket. I usually measure with a measuring tape across the top of the pocket, fold it in half, then mark the center point. I’ll then use that mark further down the pocket then connect those marks for a nice straight line.
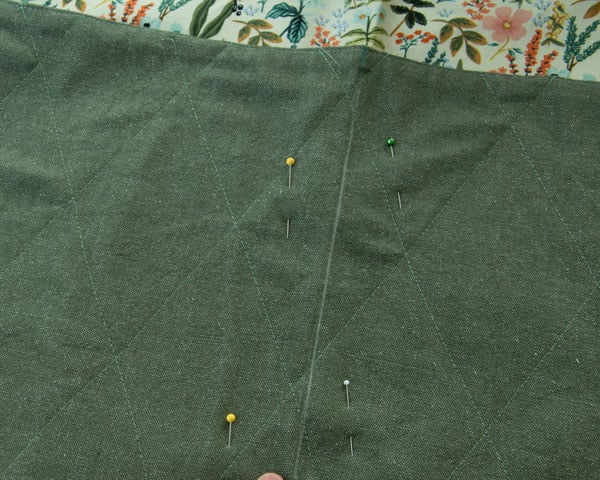
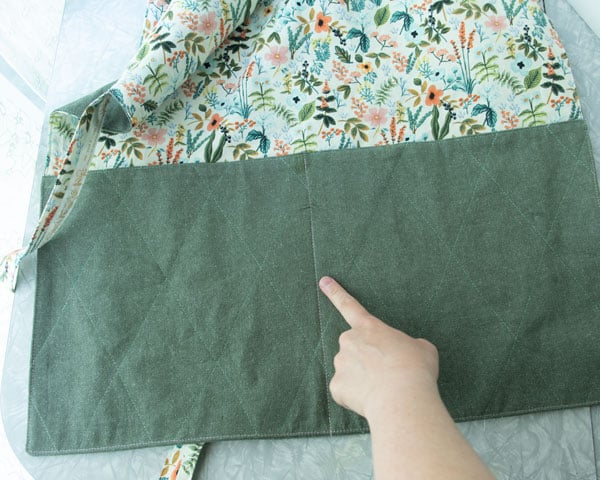
Place a couple pins on either side of the line, then stitch on the line through all layers.
And that’s all there is to sewing your own cute apron. Other ways to spice up this easy pocket apron:
- Add bias tape
- Sew on ribbon or a strip of other accent fabrics as a trim for the pockets.
- Add pleated trim

Elizabeth Farr is the writer behind the Elizabeth Made This blog where she shares helpful sewing tips, step by step sewing tutorials and videos to help you explore your creativity through sewing. She has written sewing Eguides and patterns, been a featured teacher at Rebecca Page’s Sewing Summit and Jennifer Maker’s Holiday Maker Fest and her work has appeared in Seamwork and Altered Couture magazines. She also created a line of refashioned garments for SEWN Denver. When her sewing machine isn’t humming, she’s playing and teaching violin, and hanging around a good strategic board game with her husband and 4 kids.
Thanks Elizabeth for this apron pattern. I too am a messy cook and love wearing a full apron. I can’t wait to make me a new apron. Thanks again!
Glad to help!