

I have a little sewing secret: I almost always make my own trims.
Trim is a such a good way to add a focal point to any sewing project, but finding the right trim is not always easy.
I can attest to having yards upon yards of ribbons, pom poms, ric rac, and elastics I have literally no idea what to do with. Ah, but when you make your own trim from the fabrics you already have, it’s a perfect match every time.
One of the easiest trims to DIY is pleated trim. All you need is a few inches of fabric and a fork. Yes, I said a fork. I’m running through the process of making pleated trim, then I’ll give you some ideas of what to do with it.
Pass me a fork (?)!
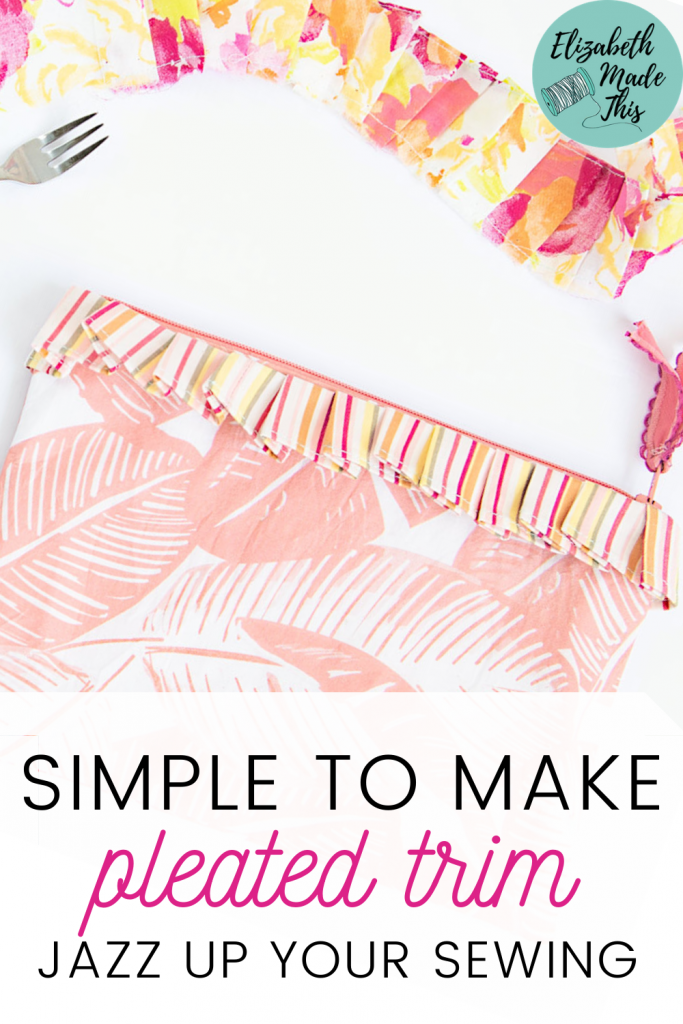
Cutting your pleated trim
Before you pull out the fork, you need to cut strips of your fabric. This is a great way to use up weird ends of your lightweight woven fabrics.

Cotton shirtings, cotton voile and lawn work particularly well for pleated trim since they’ll hold a nice crispy edge.
You can also use ribbon to make pleated trim. If you do use ribbon, you can skip the hemming step.
Whatever you choose, cut strips at least 1.5″ wide x the width of the fabric. If you have a decorative selvage, you could instead cut strips using the selvage as one of the edges.
Seam the strips together
Next, sew the strips with a 1/4″ seam allowance to make one long continuous strip. Press the seams to one side and either pink the edges or zigzag to finish the seams.
Hem the strip with a hand rolled hem
Sew 1/4″ away from the raw edge of one of the long sides.

Next press the 1/4″ towards the wrong side, using the thread as a guide for pressing.

press up 1/4″ 
trim close to the thread


After that, trim away the fabric close to the thread.
Working from the wrong side, roll the hem over itself to make a tiny hem. Before you start stitching, drop the needle into the hem. Then put the presser foot down and start stitching.

Keep rolling the hem over on itself as you stitch. Your finished hem should be about 1/8″ wide.
Now we get to talk about how to make pleats with a fork.
How to make pleats with a fork
If you’ve ever tried to make pleated trim or just even pleats, you know that measuring them accurately can be kind of a hassle.
Inevitably something shifts on you and it all ends up looking wonky somewhere.
One of the easiest ways to make consistent, even pleats is with a plain old fork. Here’s how:
Stitching the fork pleats
First, take your strip to the machine. Start stitching a couple inches from the end of the strip 1/4″ away from the raw, unhemmed edge.
Next take your fork and slip the fabric between the tines.
fork towards fabric slip fabric between tines fold fork towards needle stitch add more pleats keep stitching and pleating


Turn the fork away from you and towards the needle. It’ll make a nice little pleat. Lift the presser foot to slip the pleat under it, then start stitching.
Stop stitching when you’re halfway through tacking the first pleat. At this point, slip the fabric between the fork tines again and make a second pleat. Do your best to sit the pleat right next to the first one.
Keep stitching down the first pleat and halfway through the second pleat and then make another pleat. Continue in this way until you’ve reached the end of your strip.
If you want to make your strip narrower, draw a line with a fabric marker the finished width you’d like. From there, you can stitch down that line. Trim about 1/4″ past the line for a narrower pleated trim.
Stick in a fork in it, that’s all there is to making pleated trim.
A couple things to keep in mind:
- The finished length of the trim will be 3-4 times less than your strip, so make more than you need!
- You can vary the width of the pleats with different sized forks.
Here’s some ways you can use pleated trim in your sewing projects.
Add pleated trim to a seam
To add pleated trim in a seam, baste the raw edge to one side of the seam. Think about which direction you want the trim to face before you go stitching away!
baste trim to one side sew the seam


From there, add the other side of your seam and stitch as usual. You can use the pleated trim this way along princess seams, on the sides of zippers, or even side seams.
Trimming edges with pleated trim
A plain shirtdress or button down is screaming for anything to jazz it up. Here you can add pleated trim to the cuffs, around the collar, and down the front edges.

Sandwich the trim just like you did with the seam but between the layers of the collar, cuffs, or the button bands. This jacket from Marrakech is a great example of where you can add a little pleated trim.

If you’re using the trim on a curve like you’ll have on a collar, baste the trim as far as you can. Clip into the stitching and repleat the trim so that it sits nicely along the curve.

If you know you’re going to want to trim along curves, it might be better to cut your trim first from on the bias.

Add pleated trim to a zipper bag
We love the 7 minute DIY zipper bag around here! They’re so fast and versatile, and adding a little pleated trim to one is another way to have fun with this simple little bag.

You can stitch on your trim after the fact like I’ve done here by hand. The other way to add pleated trim to a zipper bag is to baste it to the top outside pieces. After that you can sew in the zipper per the tutorial.
A bag in 7 minutes??
For real. They’re lightning quick, a great way to use up scraps, and a good intro to working with zippers.

Use the trim as a hem
My last thought for how to use your pleated trim is to use it as a hem.
Simply stitch it right sides together to the hem of a project like this kids’ apron.


From there, press the seam allowances towards the body of the garment. Finish the seam allowance as you like (I used a serger). Finish it off by topstitching close to the seamline.
Do you have some good ideas about how you can use pleated trim now? Give it a shot at making it for yourself, and I’d love to know how you’ll use it in your next project!

Elizabeth Farr is the writer behind the Elizabeth Made This blog where she shares helpful sewing tips, step by step sewing tutorials and videos to help you explore your creativity through sewing. She has written sewing Eguides and patterns, been a featured teacher at Rebecca Page’s Sewing Summit and Jennifer Maker’s Holiday Maker Fest and her work has appeared in Seamwork and Altered Couture magazines. She also created a line of refashioned garments for SEWN Denver. When her sewing machine isn’t humming, she’s playing and teaching violin, and hanging around a good strategic board game with her husband and 4 kids.
Elizabeth, I have enjoyed seeing your entries. Your creativity and productivity is amazing!
Good luck with the contest!
Thanks so much!
Wow – got directed to your blog via another blogger. Brilliant makes…gonna spend more too much time reading your blog instead of making stuff but will restrict myself to evenings when I find it harder to sew in artificial light and usually tired so make loads of silly mistakes! Very inspirational. Thanks for blogging.
Thanks so much! And thanks for reading too. I spend a lot of time writing!