

I am always up for a good sweater refashion, and today I’m showing you how to tackle DIY fingerless gloves.
Several years ago I started making these in droves. They are a life saver in winter! They’re perfect for those mornings your hands are cold but you still want to be able to do things.
And personal note, being a violinist, they’re awesome warm up gloves. It’s really nice to pop on a pair the first few minutes I’m playing in a day and enjoy my hands staying flexible in their warmth.
In short, I think you’ll really enjoy making your own DIY fingerless gloves! So grab an old sweater that’s seen better days and let’s do this.

How to make DIY fingerless gloves from an old sweater
Cutting the sweater sleeves
First pop your arm into one of the sleeves. Bring the hem of the sleeve so that it’s even with the base of your fingers.


Mark where your elbow is with your chalk, then take off the sweater.
Cut off the sleeve 1″ above your elbow marking.
Use the first sleeve as a template for cutting the second sleeve.
Make your thumb pieces
Cut off two small rectangles from the hem ribbing for your thumbs. I like the hem of the thumb pieces to hit a little bit before my thumbtip, but you can adjust this as you like.

Wrap the piece around your thumb, wrong sides together. Use pins to mark a seam that is the shape of your thumb but comfortable.

Slide your thumb out of the thumb piece, then mark the seam with chalk.
Sew on the chalk line with a narrow zigzag, backstitching at the hem. Next sew a wide close to your first stitching line. Trim off the remaining seam.
Try your thumb on. Cut off any extra from the base of the thumb if it seems too long.
Repeat with the second thumb piece.
Shaping your DIY fingerless gloves
Turn one glove inside out and try it on.

Check the fit. If it’s not as fitted as you’d like, use pins to shape a new seam on either side of the original underarm seam that’s closer to your arm.
Draw chalk along your pin lines. Next, sew a new seamline along the chalk line with a narrow zigzag stitch. Be sure to backstitch at the hem.

If the seam allowance isn’t too big, the original underarm seam is a fine finish for your glove.
If you had to shape the sleeve a lot this step, go ahead and sew a wider zigzag close to your first stitching line. Trim off the extra and you’re good to go.
Repeat for glove #2.
Cutting the thumbholes
Next, try your glove on your non-dominant hand, bringing the ribbed hem up to the level you like.

Feel with your other hand where the bone is at the base of your thumb.
Make a small hole at this point with the base of your scissors. Start small to double check the location. You can slip your thumb in the hole to see if it’s exactly where you want it.
When you’re happy with where the thumbhole is, make a slightly larger hole that’s the same circumference as your thumb piece.
You can double check this by bringing the folded thumb piece next to the thumb hole.

Cut the hole on the other glove using your first glove as a template.
Sewing the thumb pieces to the DIY fingerless gloves
Turn each glove to the wrong side.
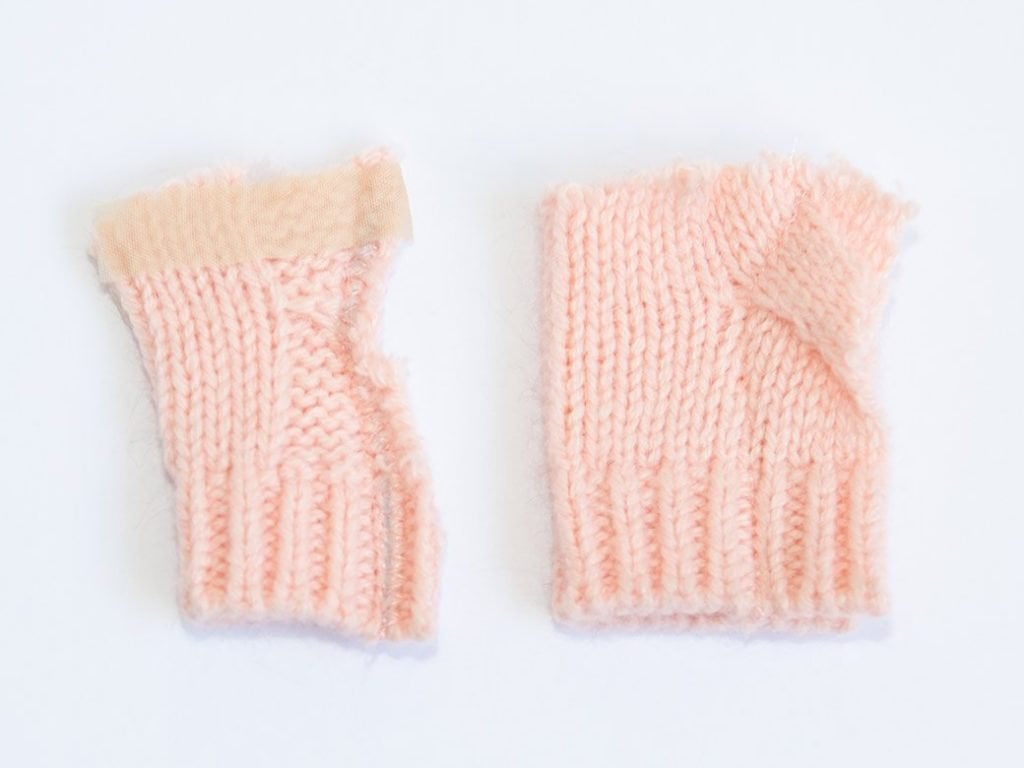
Cut a piece of fusible knit interfacing 1/2″ wide. Fuse the interfacing in place around the raw top edge of your thumb piece on the wrong side of the thumb piece.

Flip the thumb to the right side, then pop it into the thumb hole with right sides facing. This is a tiny little hole to sew, so pins will be hard to get in there.
Instead, hand baste the thumb piece in place.
Sewing with the interfacing side up, sew the thumb piece in place with a narrow zigzag and a 1/4″ seam allowance. Stitch a wider zigzag close to the first stitching line to finish off the seam.
Repeat for the second thumb piece. Now it’s time to finish off your DIY fingerless gloves.
Hemming the gloves
Cut two pieces of fusible knit interfacing 1″ wide X the circumference of the top of each glove.


Next fuse the interfacing in place, and press the hem towards the wrong side.
Finish off each hem by stitching with a wide zigzag close to the top edge of the hem.

And just like that you’ve got a pair of DIY fingerless gloves made from the leftovers of this sweater hat. They’re both easy snowy day projects that will keep you warm all winter.
And here’s the video version of this tutorial I did a while back.

More sweater knit projects to try:
- Sew your own DIY ruffle sweater
- Make a sweater mug rug
- Refashioned sweater shrug tutorial
- How to make a hat from a sweater

Elizabeth Farr is the writer behind the Elizabeth Made This blog where she shares helpful sewing tips, step by step sewing tutorials and videos to help you explore your creativity through sewing. She has written sewing Eguides and patterns, been a featured teacher at Rebecca Page’s Sewing Summit and Jennifer Maker’s Holiday Maker Fest and her work has appeared in Seamwork and Altered Couture magazines. She also created a line of refashioned garments for SEWN Denver. When her sewing machine isn’t humming, she’s playing and teaching violin, and hanging around a good strategic board game with her husband and 4 kids.