
Want to learn how to sew a stuffie? You’re in the right place.
There’s plush toys everywhere these days, but however nicely they’re made, they always feel a little soulless to me. When I was a kid, one of my favorite things to do was my own stuffies and make clothes for them.
When you give a child a needle and thread, the creative learning possibilities are endless. Something like that can’t be replaced with a store bought stuffie!
Plus these handmade stuffies make fun low cost gifts for family, friends, or charities like Operation Christmas Child.
All you need is a little bit of fabric and less than 30 minutes.
I’ll show you how to take pretty printed fabric and turn it into an easy to sew stuffie. You can sew this by hand or machine, and it’s a project that your kids can make on their own or with just a little help.

Table of Contents
What kind of fabric is best for sewing handmade stuffies?
Stick with natural fibers like cotton or linen.
It’s also a good idea to find a large scale print. Prints with big motifs will be easier to cut out and sew. Large scale prints are made up of fewer, bigger motifs. Small scale prints, on the other hand are comprised of many small things. Gingham and Liberty of London Tana Lawn are good examples of small scale prints. Marimekko is an example of large-scale prints, though it’s too heavy for this project.
I’m a fan of cotton flannel for this project since it’s relatively stable and easy to stitch. I’ve made these little stuffies with my hand sewing class I teach on Fridays at my kids’ homeschool enrichment school, and they had no problems stitching through the flannel.
Another choice would be printed dish towels. Sometimes you can find these thrifting. I’ve made actual dolls from printed tea towels and printed yardage that were made with just that purpose in mind. You can see that process in How to Sew a Doll.

What should I stuff a stuffie with?
Polyfil is a great choice here. It makes a nice soft stuffie that’s cozy and lovable, and it’s easy for little hands to use. Alternatively, you can use fabric scraps. I really like to put a bit of fabric scraps in the bottom of a stuffy. Fabric scraps, beans or poly stuffing pellets have a little more weight to them than plain polyfil. If you use a handful of one of these heavier materials at the bottom of a stuffie, it will stand up.
How to sew a stuffie supplies
elizabethmadethis.com is a participant in the Amazon Services LLC Associates Program, an affiliate advertising program designed to provide a way for websites to earn advertising revenues by advertising and linking toSome of the links below are affiliate links. This means that, at zero cost to you, I will earn an affiliate commission if you click through the link and finalize a purchase.
- Scraps of printed fabric: printed cotton flannel
- Needle and thread or sewing machine
- Fabric scraps shredded into small pieces, beans, pony bead stuffing pellets or polyfil
- washable marker (my favorite marker)
- Fabric scissors (my favorite scissors)
- A window or lightbox
- Turn-it-all tubes (not necessary, but extremely helpful)
How to sew a stuffie step by step
Cutting fabric
First, wash and dry your fabric as you would before working on a project.
After that, iron your fabric. Give it a good look and decide what motif you want to become your handmade stuffie.
In my case, these sweet unicorns were a good size. Because there’s a few different types of unicorns, so you can make several different stuffies from the same fabric. This is a huge bonus if you’re working with a class of kids.
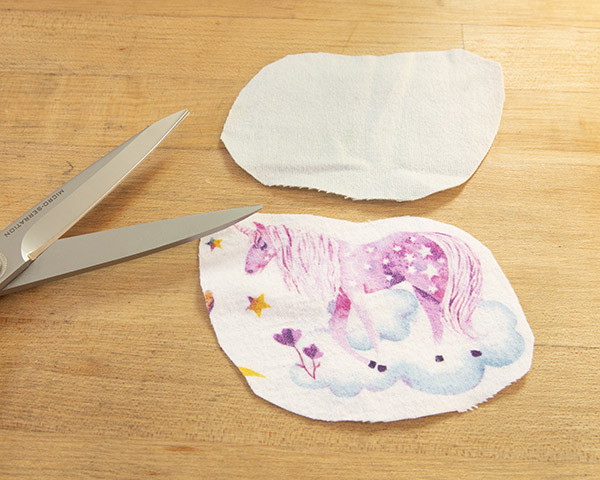
Cut out a motif of your choice about 1/2″-1″ past the body of the motif. This will give enough space for you to work with the fabric easily.
Next, lay this cut out motif on top of a second piece of fabric. Rough cut around this. Why did I tell you rough cut vs. cut exactly the same size as the motif you previously cut? You can cut away the excess in another step. A little bit extra will make the fabric easier for small hands to handle.
Draw a stitching line
After you have your fabric cut, hold up the motif you’ve cut to a window. On the backside of the fabric, use your washable marker and draw a line around your motif. Keep the line about 1/8″-1/4″ away from the edge.
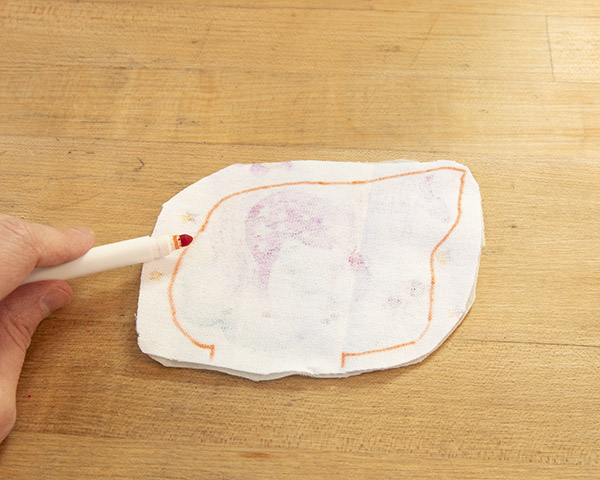
I also like to draw a set of small vertical lines about 3″ apart on a flat edge of the motif. This will show where to start and stop stitching so that you will have a hole for turning your stuffie.
Sewing the stuffie
From here, place your marked fabric and the second piece of fabric right sides together.

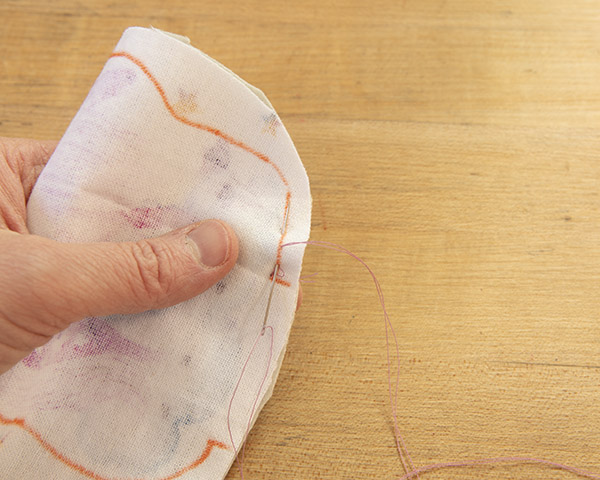
With the printed line facing up, stitch on the line you drew from vertical line all around to vertical line. If you’re hand sewing, use a backstitch. The backstitch will make a nice strong seam and keep the stuffing in place. When you’ve sewn all the way around, knot your thread.
If you’re sewing by machine, be sure to backstitch with the machine at the start and stop of your stitching.
Trim away the excess fabric
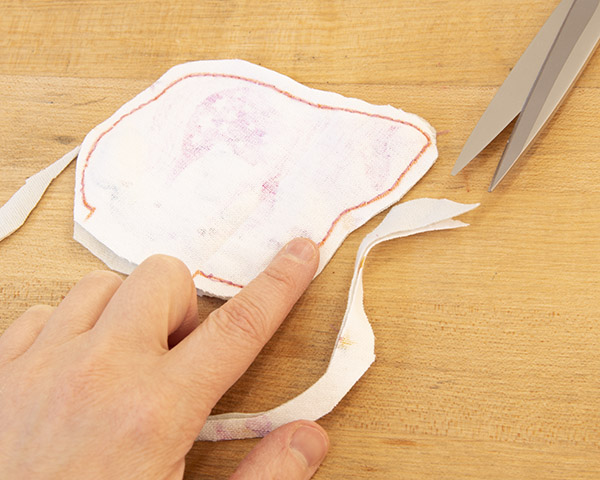
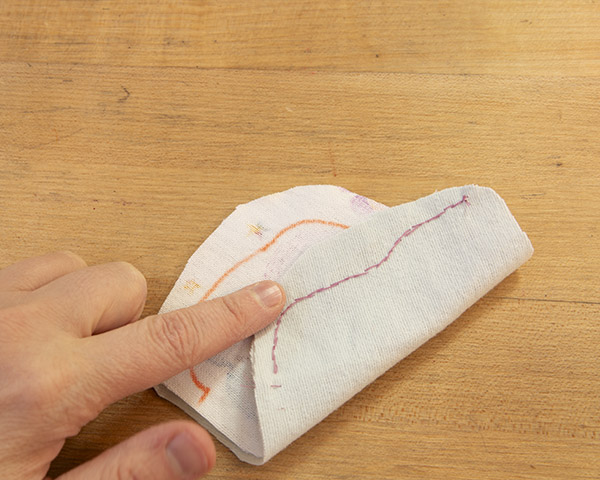
Once you’ve stitched around your motif, cut away the extra fabric from both layers, cutting 1/4″ past the stitching line.
Turn the stuffie right side out
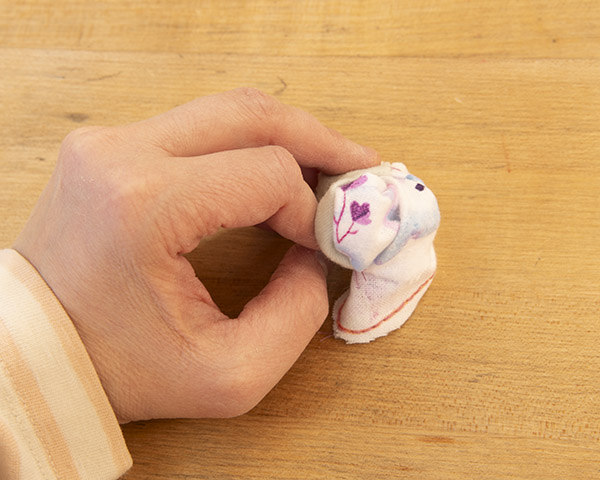
Poke one of the Turn It All tubes inside the hole you’ve left in the stuffie. Use one of the dowels to push the fabric through the tube to turn the stuffie right side out. If you don’t have a set of Turn It All tubes, you can use your fingers; it will just take more time. My students LOVE using this tool!
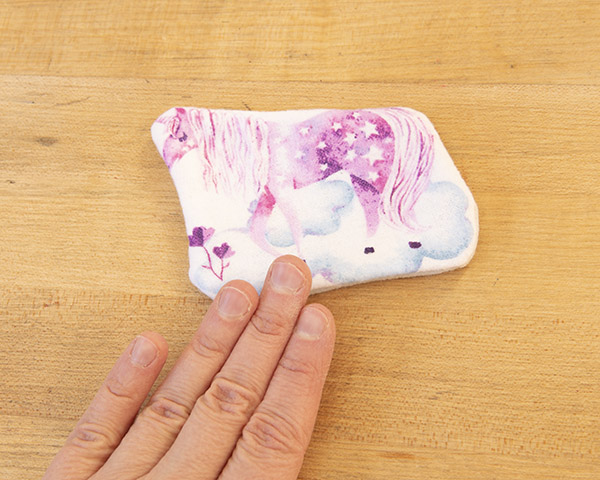
Press the unstuffed stuffie, folding the edges of the hole towards the inside such that they’re even with the turned edges.
Stuff the stuffie
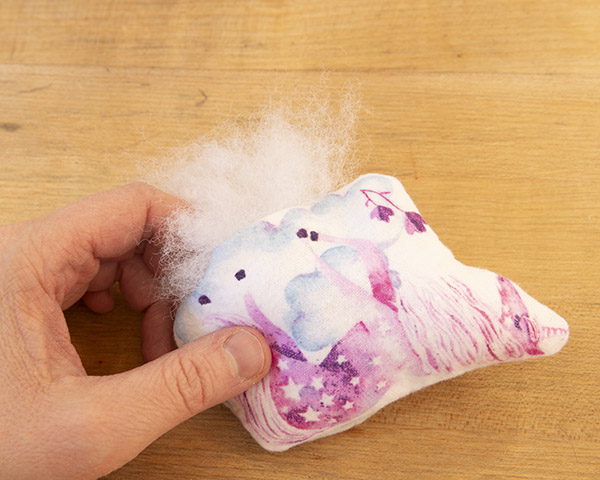
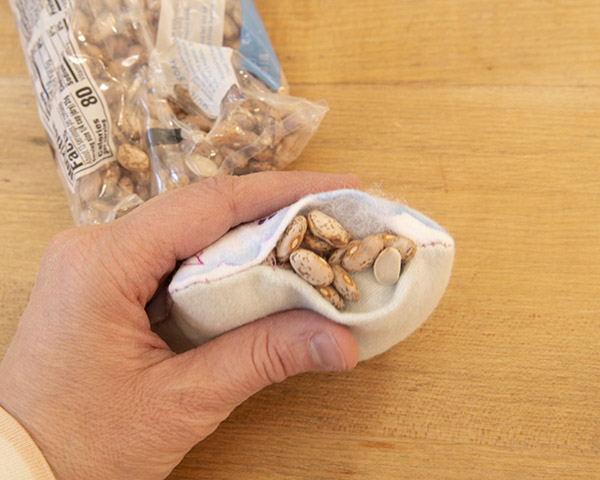
From here, stuff your stuffie. Use fingers or the eraser end of a pencil to gently push wads of polyfil into place on the inside of a stuffie. It will always take more stuffing than you think to get a nice poofed out stuffie. Fill to your desired amount. Save a handful of beans, fabric scraps, or poly beads for the bottom of the stuffie. This will help the stuffie stand up on its own.
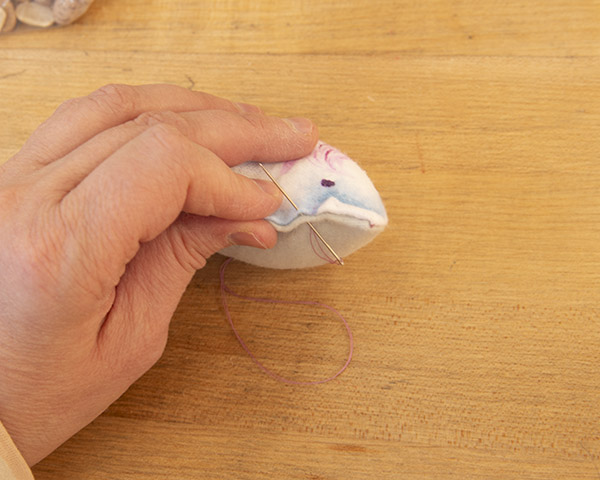
Sewing the hole closed
To finish up, use your sewing machine or a hand backstitch, overcast or slipstitch to close up the hole on the bottom side of your stuffie.
Enjoy your handmade stuffies!
And that’s how to sew a stuffie. Have fun making a bunch!
Check out more Easy Sewing Projects here:
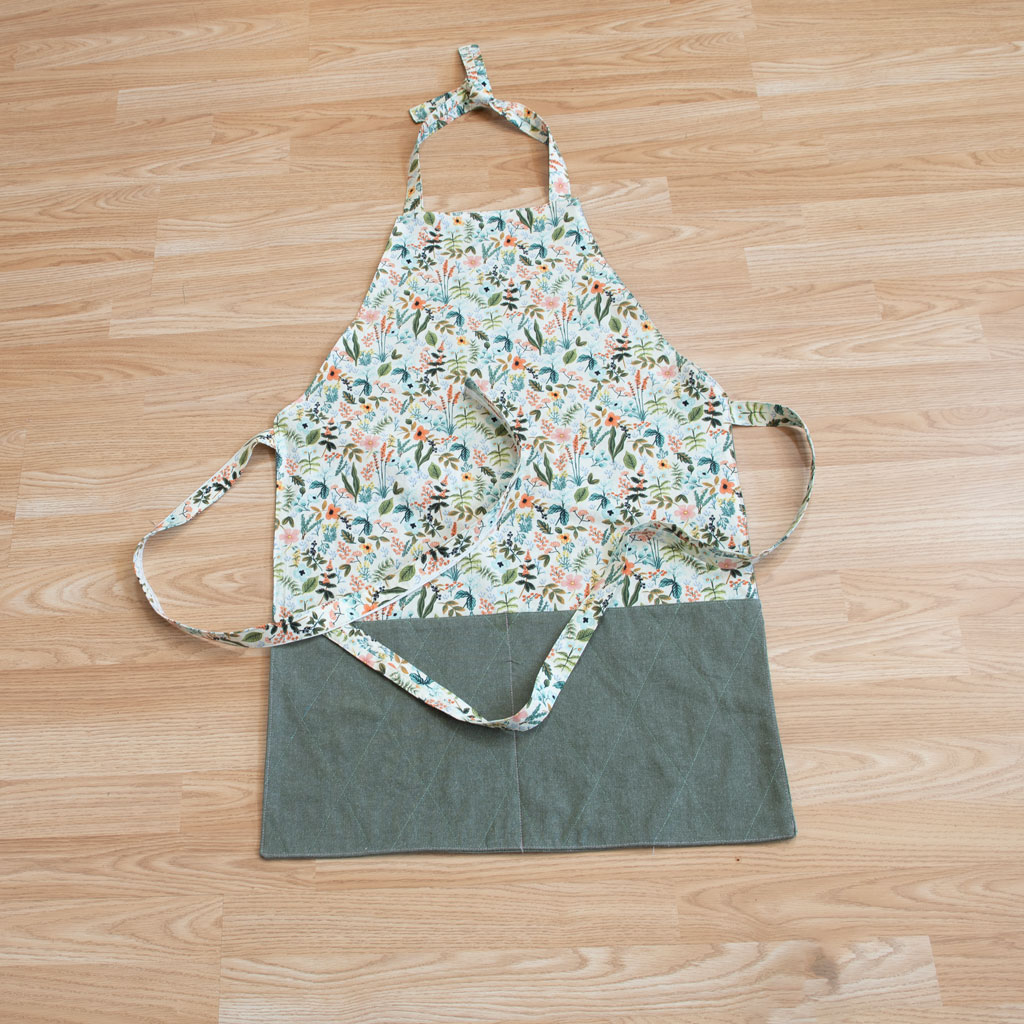
How to sew an apron with pockets (no pattern needed)
Learn how sew an apron (with pockets!). Since I’m a baker, I’m perpetually flinging flour…
How to sew a stuffie (the easy way!)
Want to learn how to sew a stuffie? You’re in the right place. There’s plush…

How to make a fabric bookmark (kids will love these!)
Today I’ll show you how to make a fabric bookmark. This is a great project…

Make this easy bowl cozy pattern
Today I’m showing you how to sew a bowl cozy with this simple bowl cozy…

How to sew a bow for instant smiles
Today I’m showing you how to sew a bow. Hands down this cute bow has…

Create your own fun: How to make a bean bag in 10 minutes
Today is a simple win project: how to make a bean bag. DIY beanbags are…

Elizabeth Farr is the writer behind the Elizabeth Made This blog where she shares helpful sewing tips, step by step sewing tutorials and videos to help you explore your creativity through sewing. She has written sewing Eguides and patterns, been a featured teacher at Rebecca Page’s Sewing Summit and Jennifer Maker’s Holiday Maker Fest and her work has appeared in Seamwork and Altered Couture magazines. She also created a line of refashioned garments for SEWN Denver. When her sewing machine isn’t humming, she’s playing and teaching violin, and hanging around a good strategic board game with her husband and 4 kids.